Showing posts with label bag. Show all posts

Wednesday, August 19, 2020

moda holliberry alexandra tote

i'm in love with this bag, but i'm not going to lie... it has a funny backstory.my boss asked me one friday night if i had any plans after work.  being the year 2020, obviously not...  my only plan was to sew, but i was intrigued to hear what the offer was.  tayva asked me if i would be up for sewing a new sample bag to go with some sew by number battings we had in stock for our live show that weekend.  with a handful of jelly rolls to select from, and a quilt shop at my fingertips, i selected moda's holliberry jellyroll for my exterior and a cut of grunge for my bag lining.  my apologies now, i forgot to write down which shade of grunge it was...
but let me tell you, it was fabulous.
the hardest part of this bag was deciding the layout of the strips.  overall, it used about half of a jelly roll, which allowed for a lot of variation between the two sides of the bag.  i started with one consistent middle red strip, and worked the rest of the colorways out from there.  when it came to the other diagonal on the bag, i tried to keep them matching the best that i could so it would be cohesive on both sides.
the process of sewing the bag was super easy.  spray baste the lining to the solid side of the batting.  then, once that is flat and good to go, select your strips and lay them in the numbered rectangle.  sew, and then repeat.  apparently i wasn't supposed to iron it until the very end, but you know... rules are meant to be broken sometimes.  no quilt police were called on me either, so that's a plus.
speaking of breaking rules...
i totally didn't understand how the pattern wanted me to do the straps, nor did i end up with 2 matching jelly roll strips to do it the way i thought it was saying.  so i flubbed it.
i pieced together the straps from some of the lining/binding fabric (grunge) with one of the jelly roll strips i really liked but didn't have enough for two straps.  i then folded it around the batting strip as well as the webbing that was included and stitched down the center to close up all the seams.  i also did a top stitch on both edges to help finish it off and really hold it together.
it may not have been what the pattern said to do, but i love it.
given that this was a question that was posed before i left the shop, i didn't really have time to analyze what color of thread i would need, since the inner quilting would be visible.  i did not have the right shade of gray AT ALL, so i decided the next best thing would be a bold, contrasting red.  and i was right!  it adds a little bit of festive-ness to the inside and really helps the binding on the edge pop.  the pattern also says that you can leave the inside edges raw or zig zag them, but after talking to tayva about how she did her batik sample, i went ahead and made a sort of binding for that as well.  i much prefer the clean (yet slightly wonky) look that it gives without having white batting peep out against the gray.
go figure, i don't have any photos of that though...
i really enjoyed how quick this project was, and the instant gratification that came from finishing it in about an hour or so!  i can't remember if i had a show or movie playing, or if i ended up listening to a podcast... but it didn't take long at all.
this would be a great project for beginners, since it gives you all the numbers of what way to sew the strips on and everything.  
would i do another one?  absolutely.
i've already oogled halloween rolls and thought about how cool they would look, or even some of the other fun june taylor bag patterns caliquiltco carries.  wouldn't it be a super fun gift bag?  or trick or treat bag?  i was also thinking of how cool it would be for a baby shower gift, filled with diapers or other necessities.

Tuesday, February 4, 2020

a duo of sew together bags

another post that is a bit different than the quilt ones to come is this one!
last year i made two sew together bags (which i've made a few before these) because of their useability (is that a word even?) and also the ability to combine fabrics and make each one cute as can be in their own ways.
the first bag i made was on a whim for my aunt to gift to her secret pal.  i had fabric bits leftover from the ruffle pug aprons as well as a chunk from amy & luke's wedding quilt from way back when.  yeah, i hold on to fabric for awhile... don't judge!
as much of a dog person as i am (i am not, in case you weren't sure) i do find the peek a boo pugs so amusing!  everything so simple, tan & green, and then BAM pocket pug!
the second bag i made was for the annual sacramento modern quilt guild holiday gift exchange.  the only parameters is that the gift has to be handmade (or purchased handmade) so after awhile of being unsure of what to make, i decided to bust out another one of these bags!
this time it was all completely from my stash, but had some plans go awry in the middle.  i was certain it was going to be blues & greens, but once i scrounged and found fabric big enough, my gray zipper set just wasn't right.  after a new set of zippers were purchased, this was created.  and it was nearly too hard to give up!
the secret sewing machines on this one just add that extra flair that this was absolutely made for a fellow quilter/sewist, and seeing the excitement when the recipient opened it made giving it away that much more worth it.  this second bag was probably the best as far as the construction process went.  the difference between the two bags is that i did not use batting or quilt the second one like i did with the pugs.  it is a step listed as optional in the directions, but it does add some extra heft when sewing those side seams in.  going forward, if i make another one of these bags (which i planned to this month for a friend's birthday, but it just didn't happen in time) i won't add batting or quilting.
and maybe someday, i'll get around to making one for myself!

sew together bag pattern by SewDemented

Thursday, August 28, 2014

sewvivor sewalong - sweet retreat's little sister

hello again, sew-vivor fans!
here we are at the post for challenge 2: quilted bag.
when this challenge was posted originally, well before i auditioned and such, i thought instantly that it would be my weakest project.  no high hopes or anything for it.  just... blah.
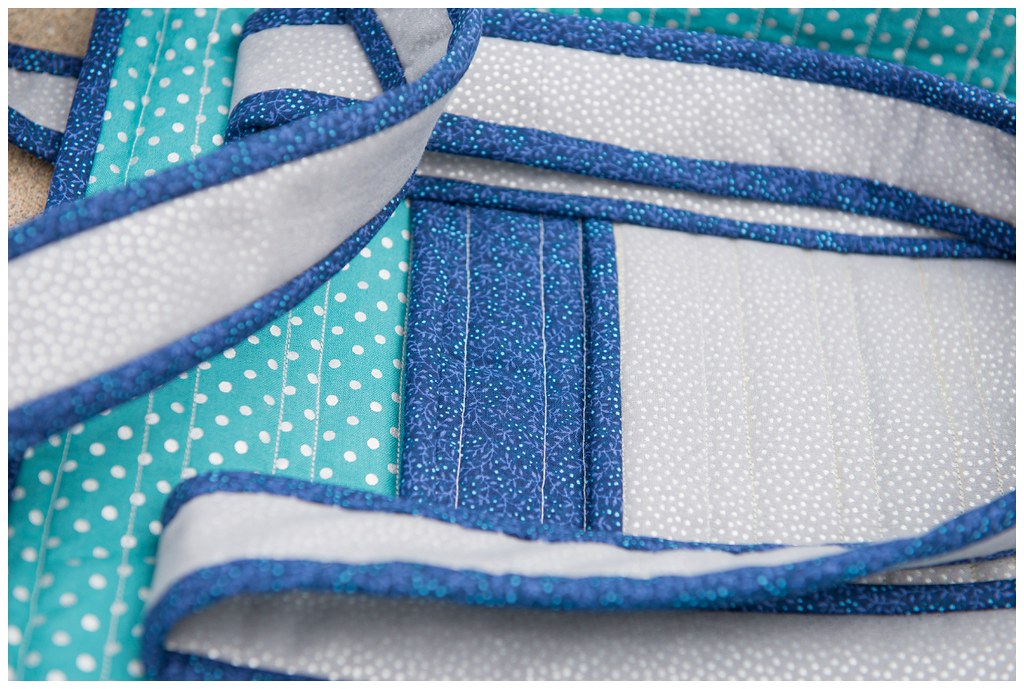
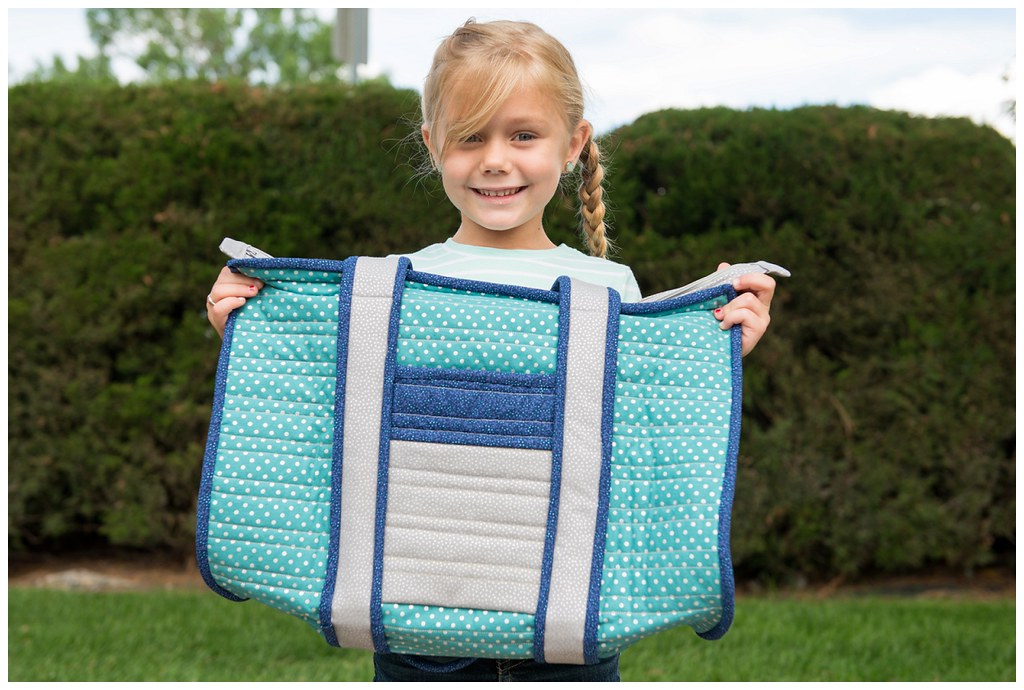
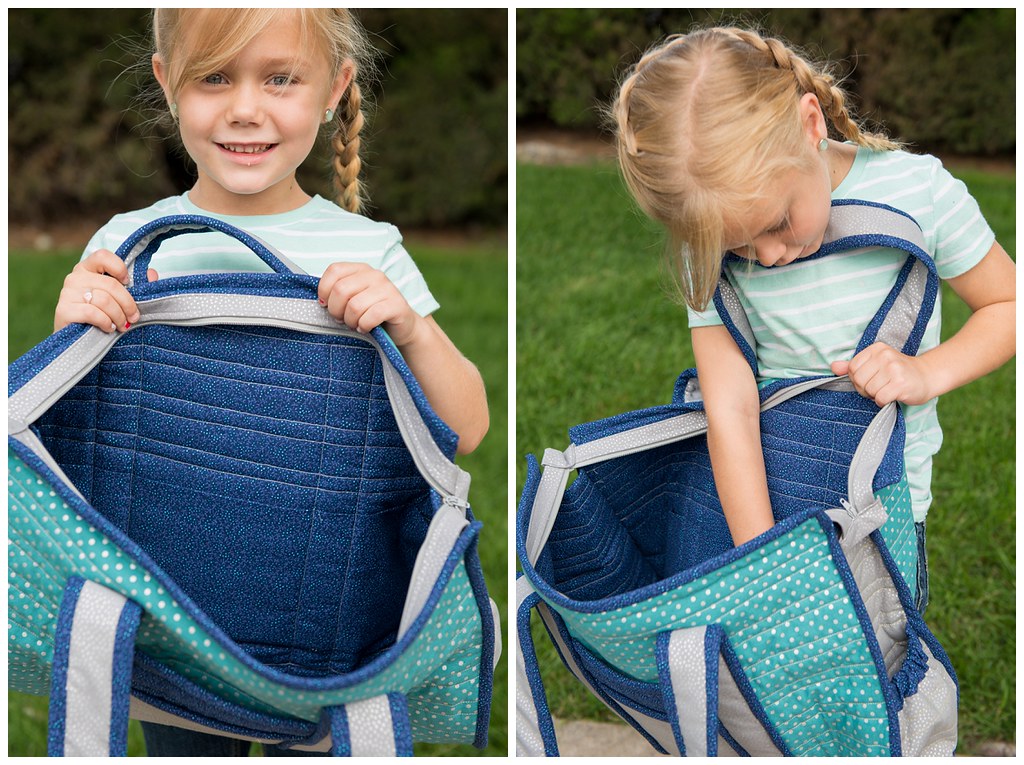
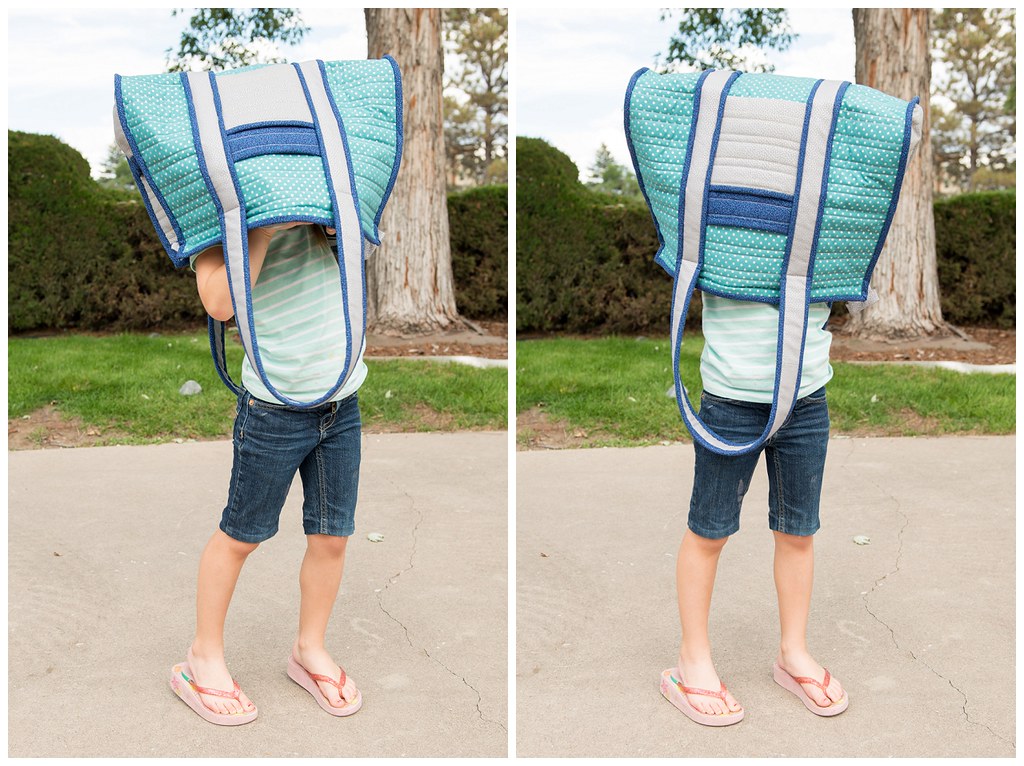
i pinned a billion different ideas, but none of them really wowed me.  i stumbled across the "sweet retreat's little sister" bag pattern while at joann's one day, and decided it would be my project.  i picked out my fabric, and did some of the quilting the night before i left for colorado, and then finished it up while out of state.  turns out, i should have read the instructions a few dozen times before doing anything.  i had to requilt some things, and others were fudged as well.  and the binding... oh was there lots of bias cut binding.  oy!  but it's all finished now, and i had this super cute lorelai just sitting around to model my bag for me.  everything looks better with kidlets, right?
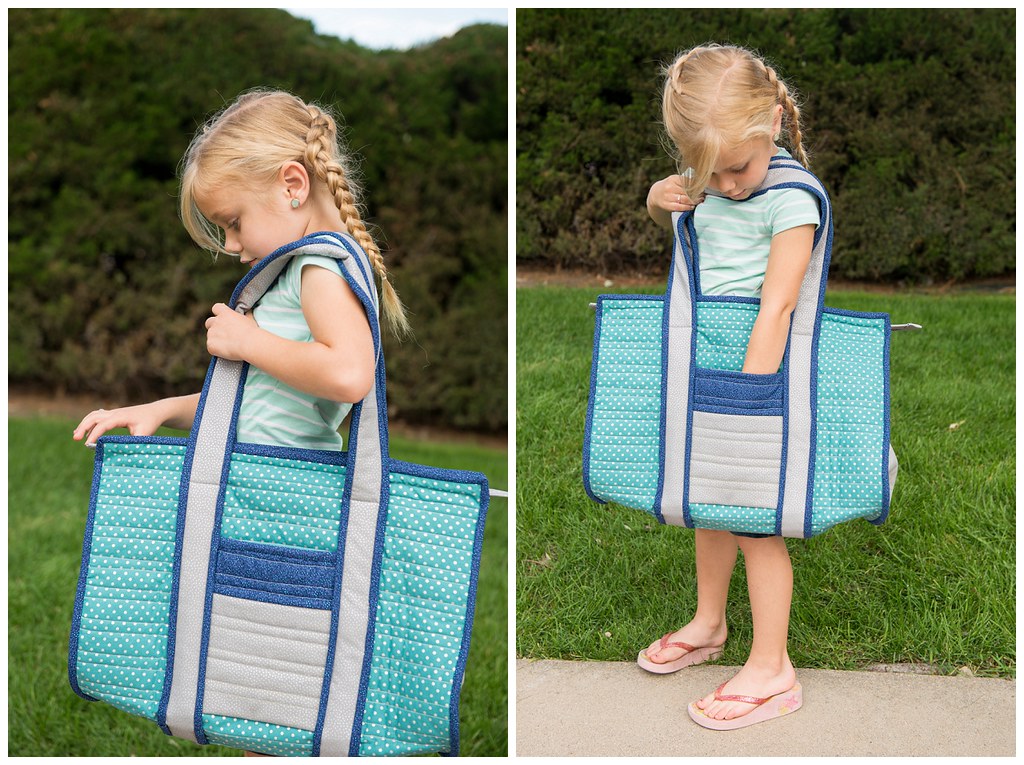
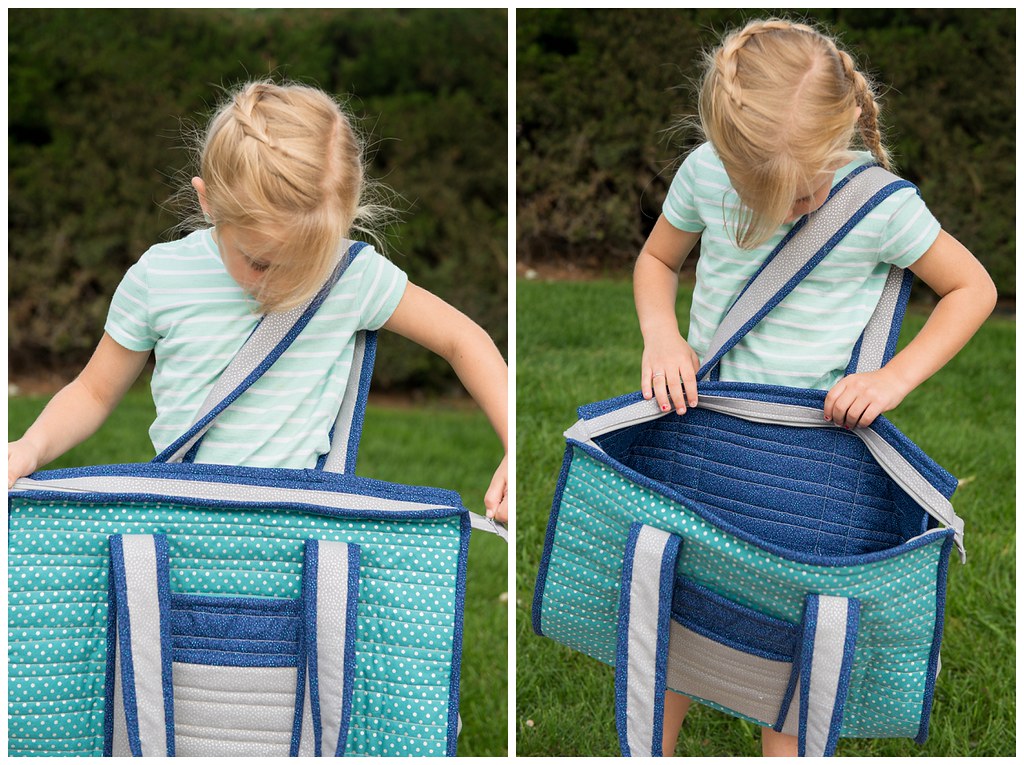
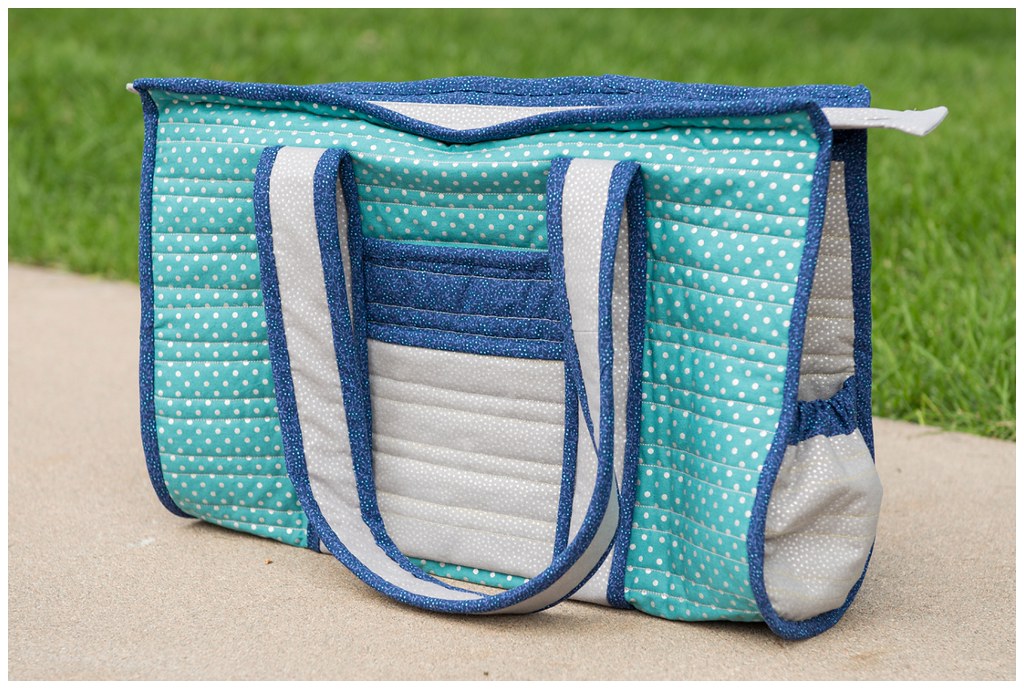
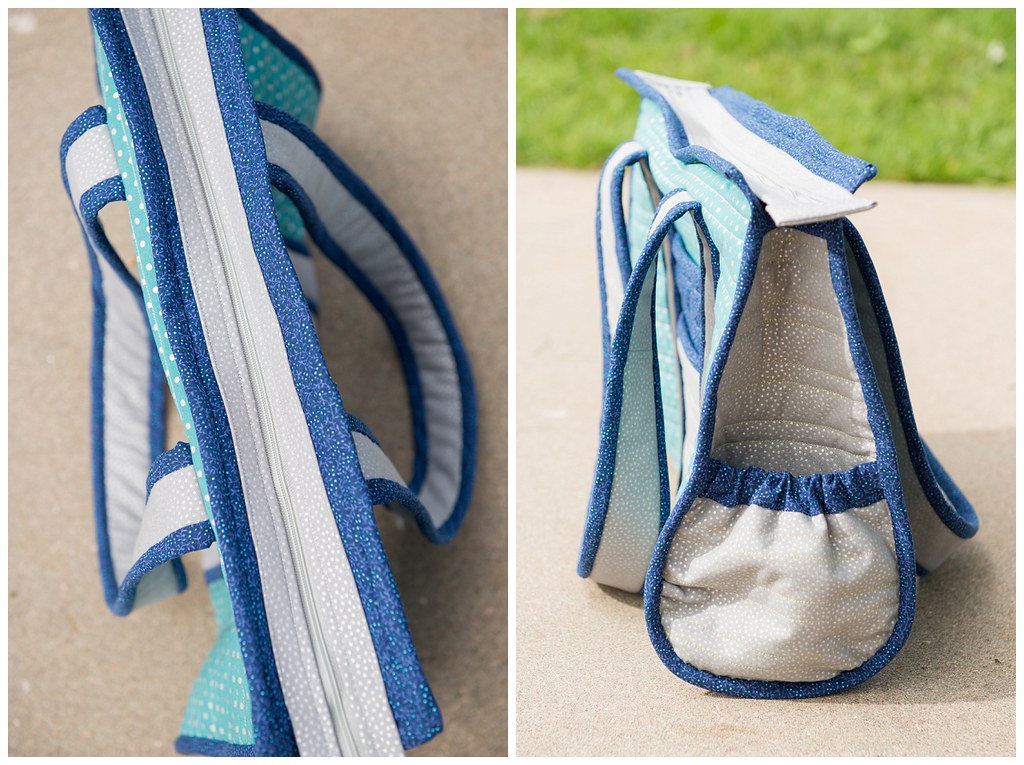
this bag has a whole lotta pockets on it, which makes it even more awesome. one on each side, two on the front, two on the back, and 3 on each side on the inside. i told you... a whole lotta pockets.  and that zipper was fantastically easy to put in.  and it looks great too.  love it.
this bag was a pretty good size,so i'm a little afraid to see what it is the "little sister" of... lisa and i were pretty certain if kent curled up in a ball, he would fit inside quite comfortably.
love those side pockets. although having to sew that curved edge... not so much love.
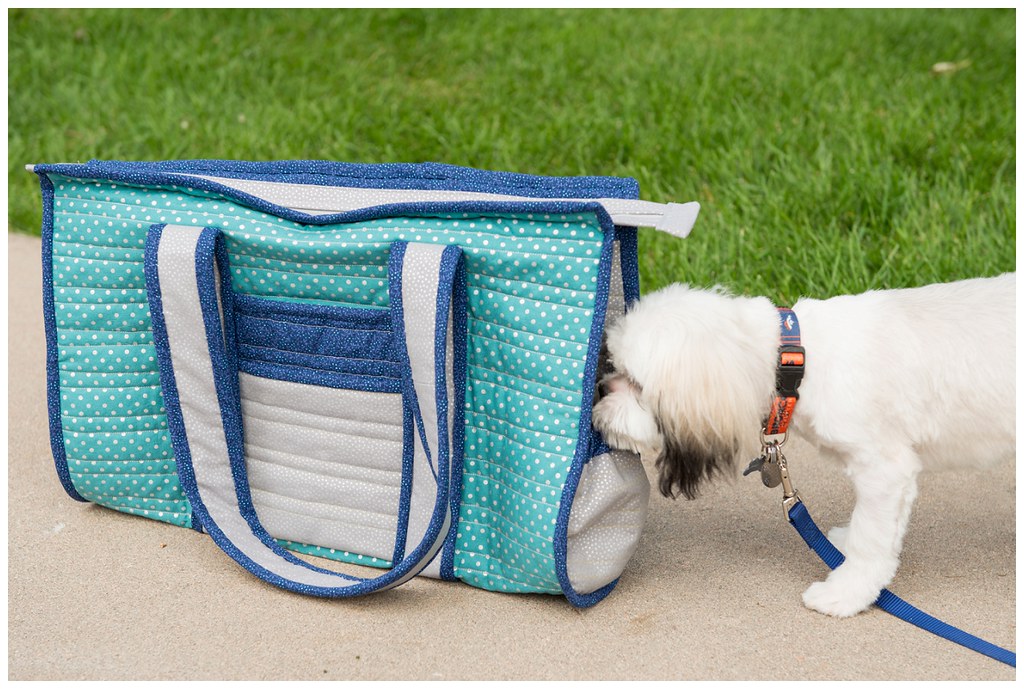
hugh would have easily fit inside the bag. with a whole lotta room to spare. now on to the solo bag photos, just to get a smidge more of the details while lorelai ran around like a crazy person.
and on a final note...
while this bag turned out better than i envisioned it day one in colorado, i am quite thrilled to be getting back to quilts.  big, flat, rectangular, snuggle up in quilts.  okay, maybe they're not going to be big enough for me to snuggle up in... but at least they won't be bags.
i shouldn't be talking too much trash about this challenge.  it was good for me to do something like this and try something new.  and i keep seeing posts about this weekender bag people have been making... perhaps that will end up on my desires to sew list.  in the meantime here is some info about the bag pattern:
sweet retreat's little sister by whistlepig creek
here is a fantastic tutorial i wish i knew about before i made the bag.  makes everything a whole lot more visual than the itty bitty drawings in the pattern:  tutorial by the designer
how funny.  the designer is from colorado.  it's like it was meant for this bag to be put together at lisa's house.

Tuesday, January 22, 2013

craft fair bag collection

way back when (now technically almost 4 years ago... say whaaaat?) lisa and i did craft fairs.  well, fast forward to now, and i've still got some goodies left over that are looking for a good home.  i sold these on etsy too, but now time to try a new venue for these lovely little bags.  i've broken them up in to four categories of awesomeness, so consider yourself warned!
these ones are my more girly/stylish ones. hearts, flowers, a little glitter. and of course, who wouldn't love to carry the ocean around with them all the time?
a little troops supporting, shall we? left to right, in case it is hard to tell in the photos are airforce, army, navy and then the marines.  i've sent a few of these to my lovely military wife friends in the past, and they've loved them!
this set would be more along the lines of little kiddos. perfect size for dance shoe bags, carrying around doll accessories, or a simple small diaper bag for quick trips on the road when you don't want to stock a ton of diapers with you..
and last but not least, some bags for all you craft enthusiasts out there.  i've found they work fantastic for those small little projects to tote around, or even a trip to the local fabric store.  i know my every day purse is quite large, so a small purse for a quick errand trip works amaaaaazing.
originally, we were selling these bags for $25 at craft fairs, and since i'm in a world of destash and freeing up space right now, i've cut the price down to $15, shipping included!  drop me a line in the comments section if you are interested in purchasing one, and we'll get in touch!